Related FAQ
- 🏛️ Olvid Management Console
🚀 Getting started with the Console
- 👤 Manage users
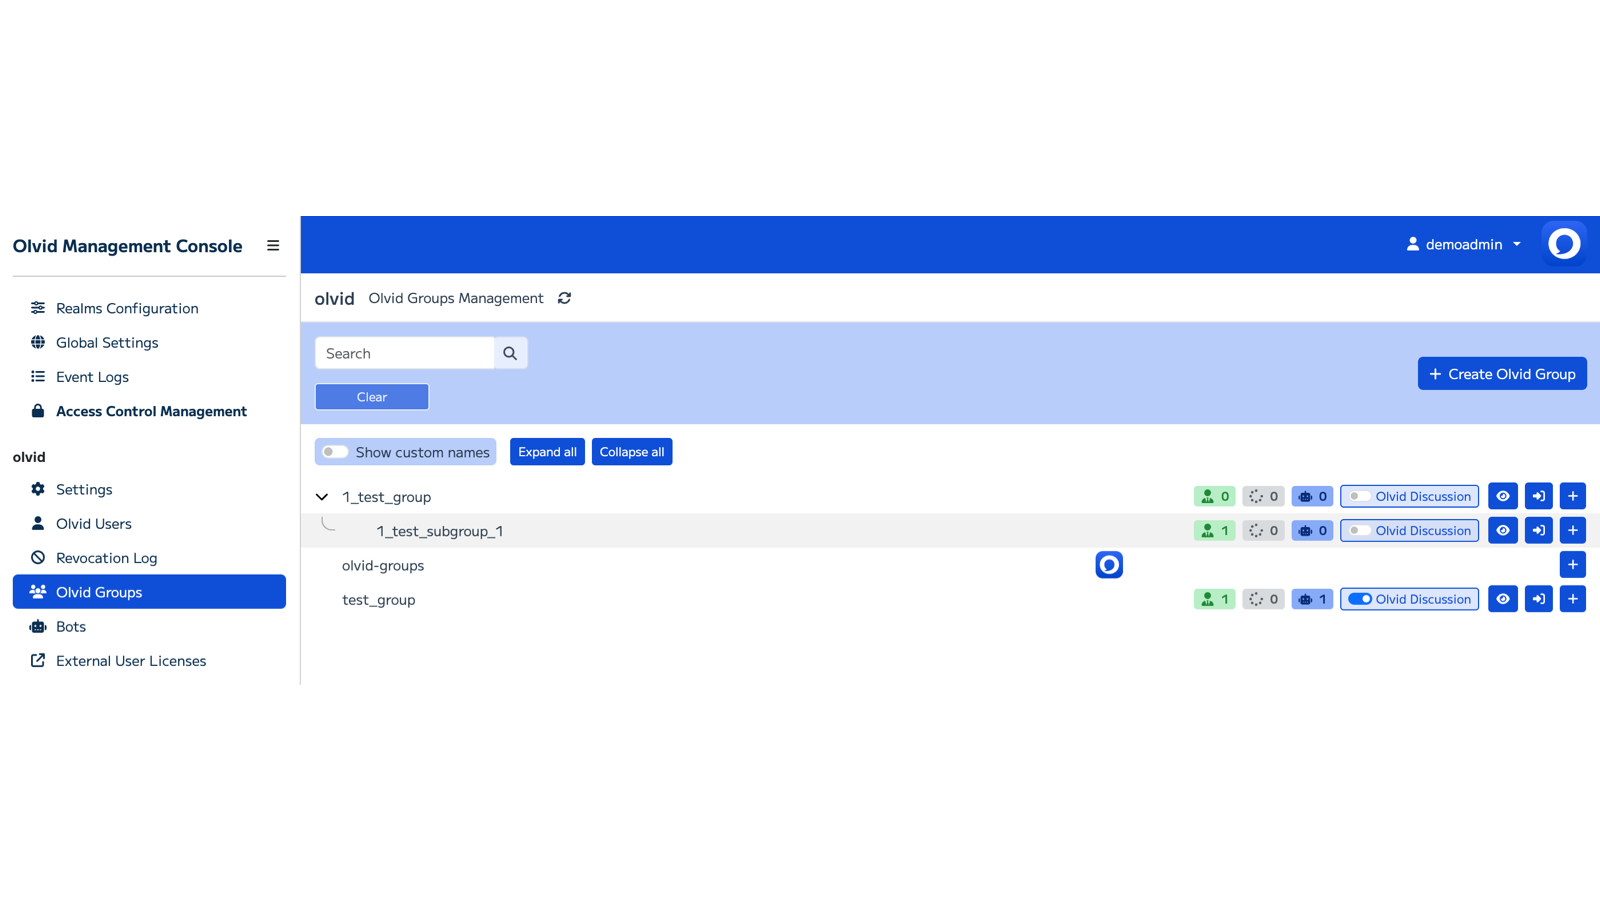
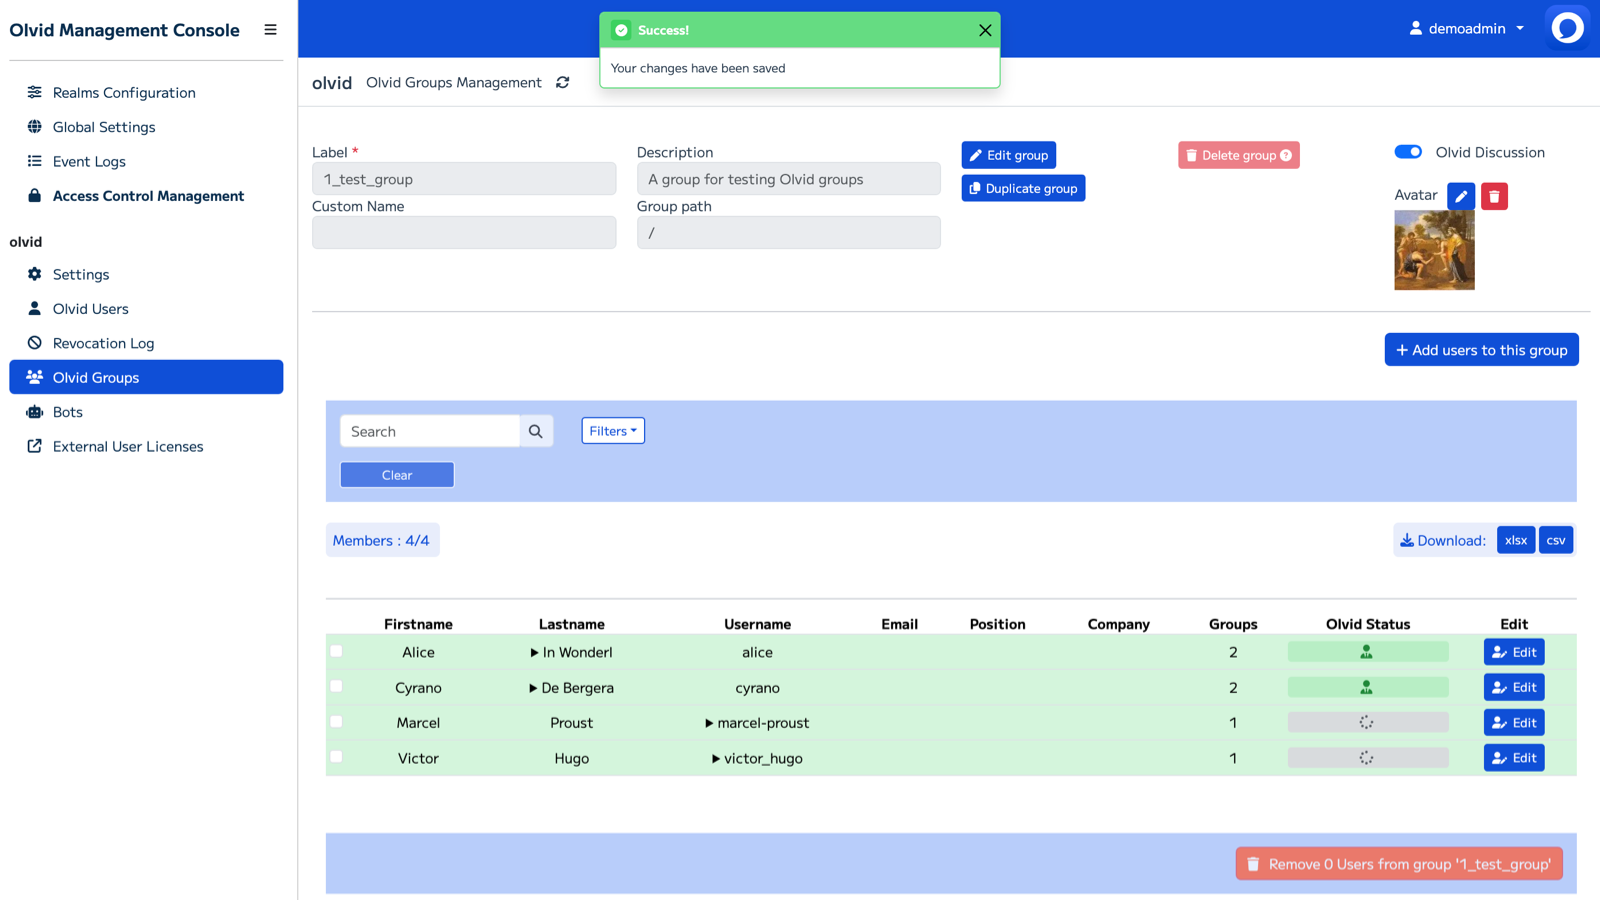
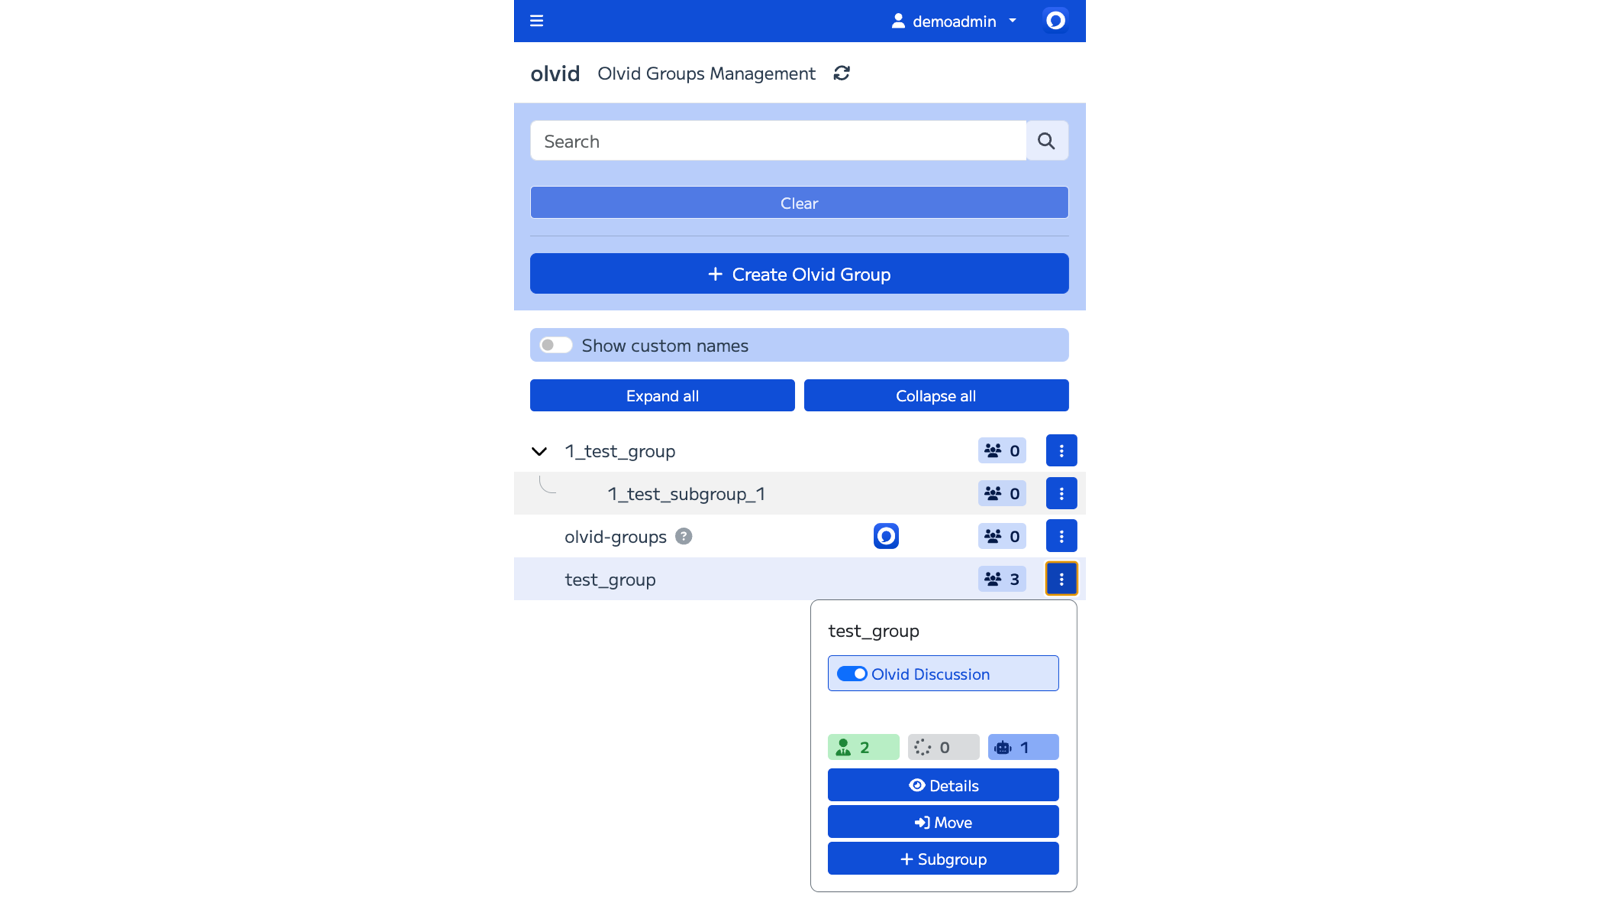
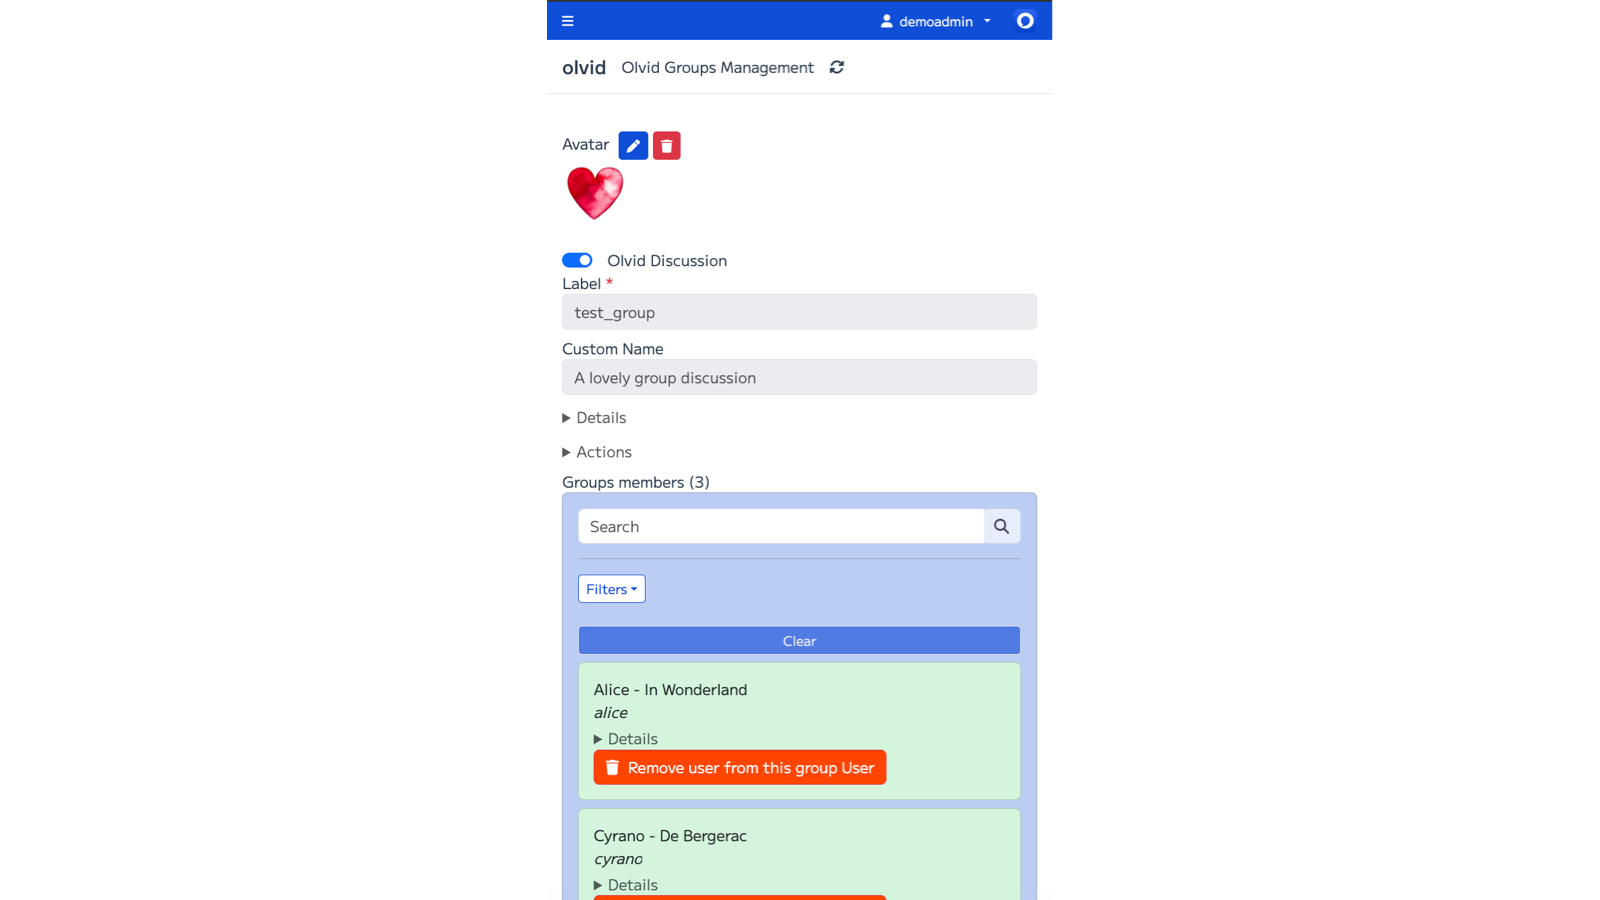
- 👥 Manage groups
- 📱 Configure Olvid via an MDM
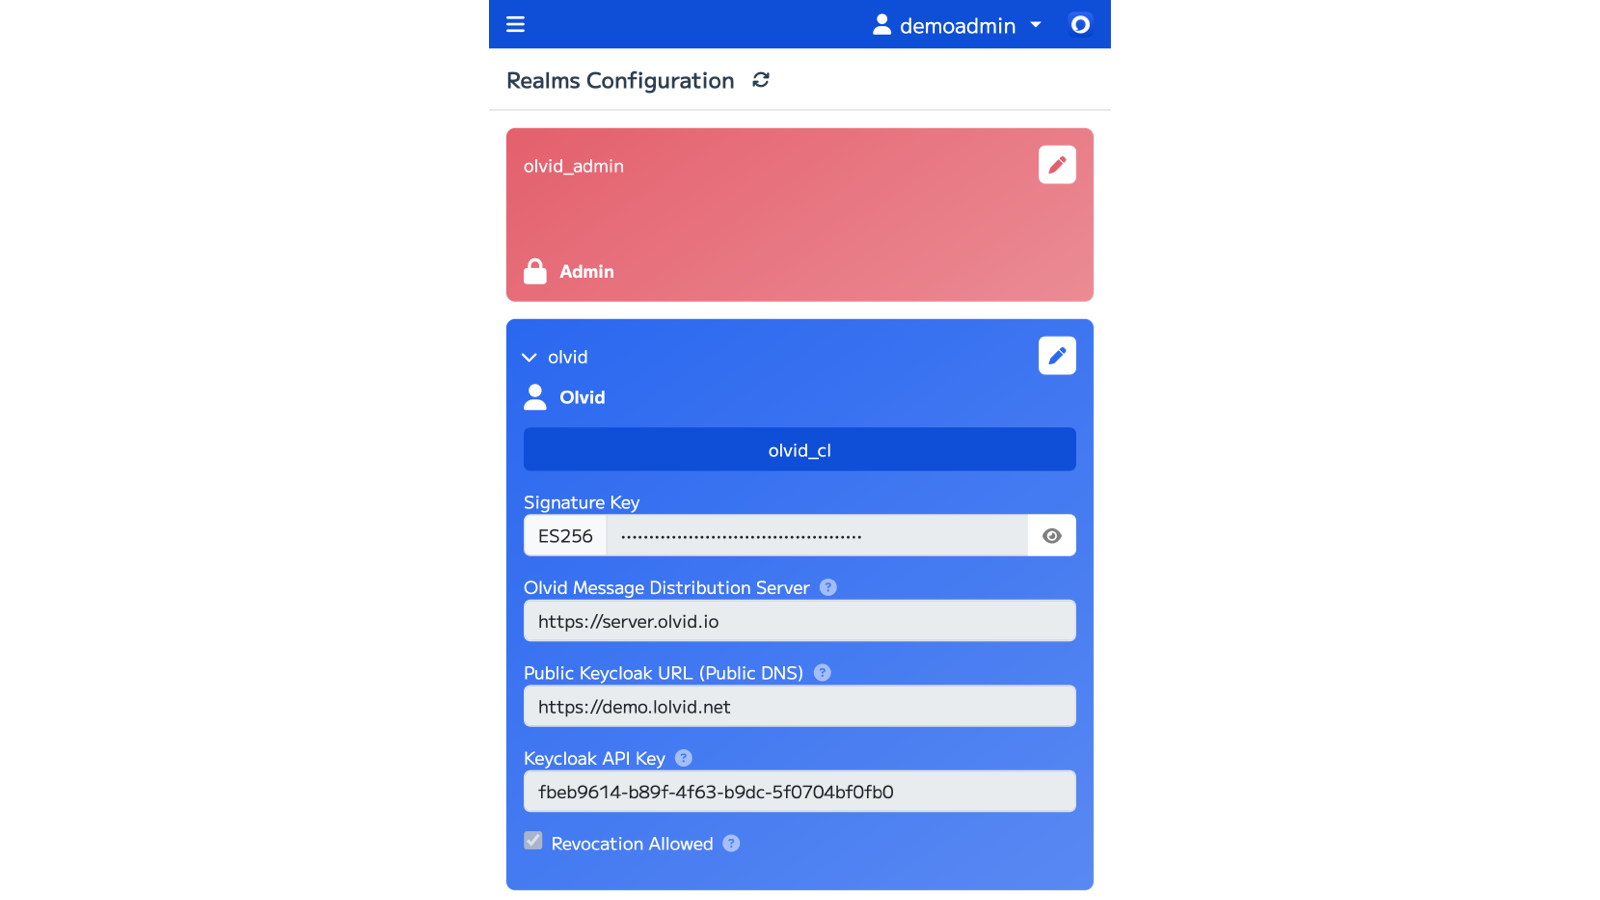
- 📘 Olvid Keycloak configuration guide
- 🤖 Olvid Bots
- 📘 Olvid Bots documentation
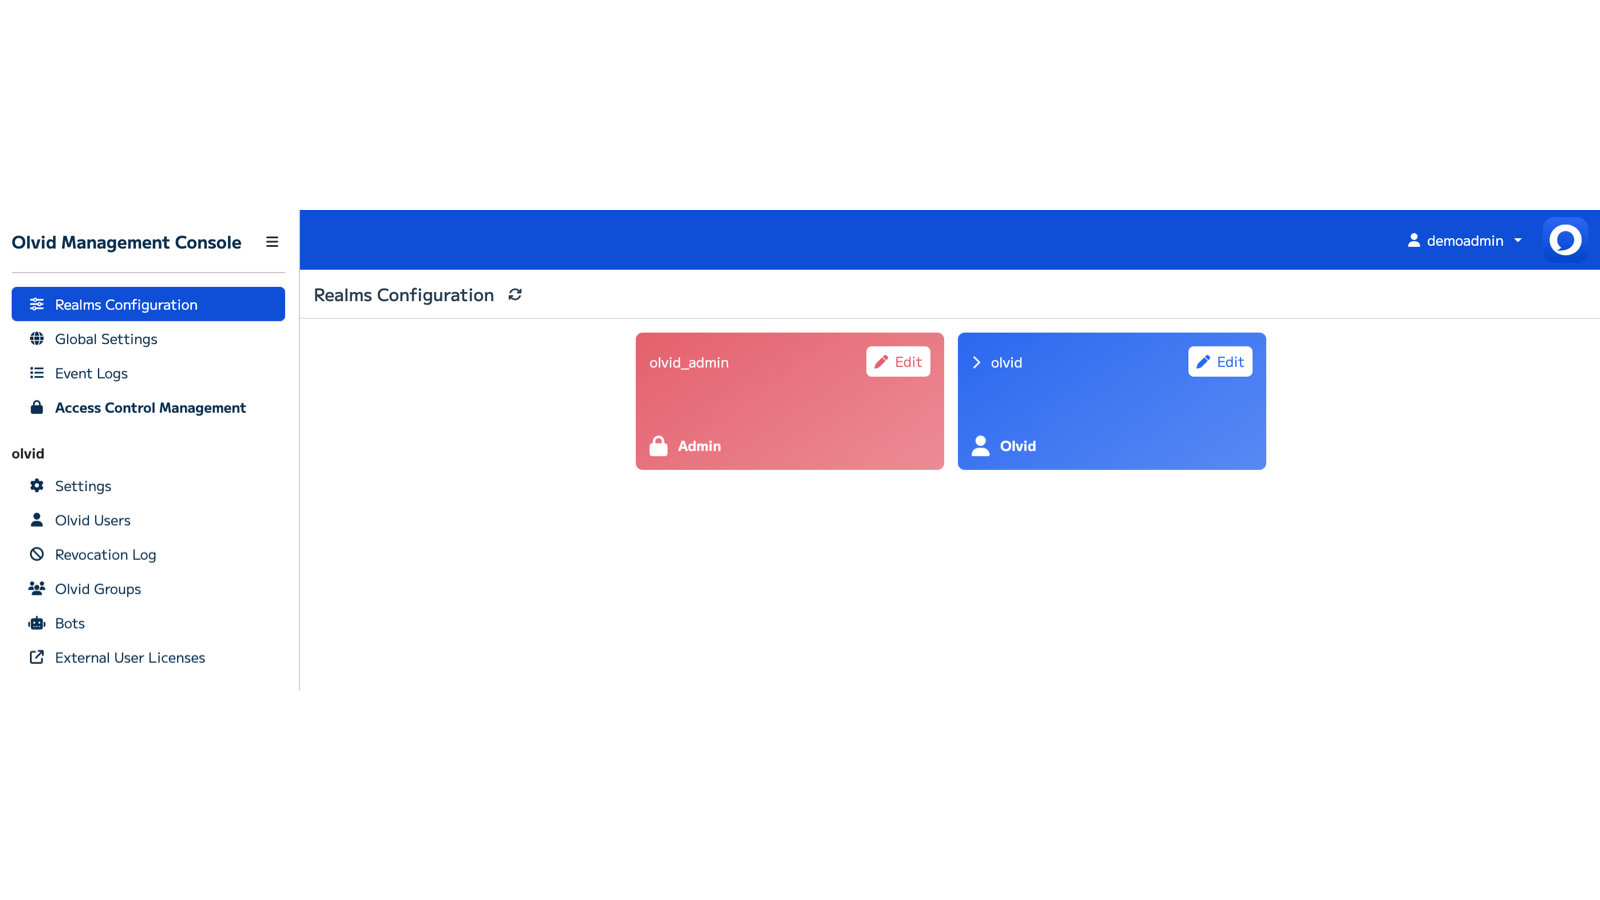
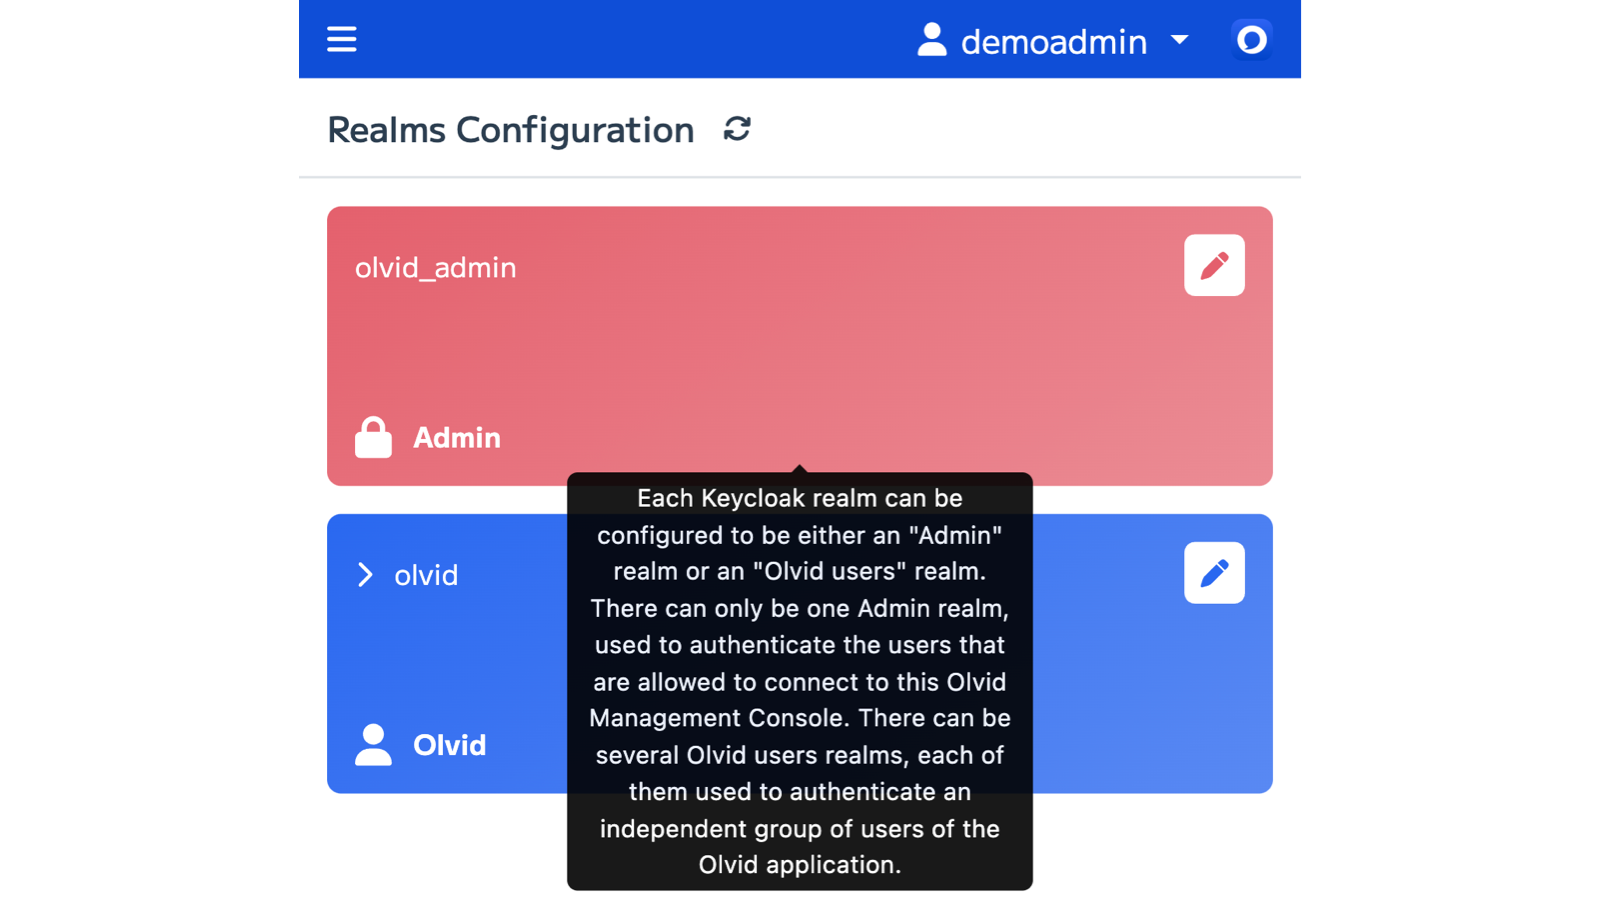
🚀 Getting started with the Console
This guide is intended for administrators of the Olvid Management Console who manage users in their organization’s directory.
Here is how to enroll your users in your directory in 4 simple steps:
1. Import a list of users via CSV
You can create users one by one or import a batch of users via a CSV file.
-
In the Console > Olvid Users (on the left), click Import CSV file, then Upload CSV file.
-
Select your CSV file and follow the steps until the import is complete.
- Your CSV must contain 7 columns, in the following order, with these exact headings:
firstname,lastname,username,email,position,company,password
-
You can leave the
passwordfield empty. The console will then generate a random password. -
Before going into production, remember to delete your test users.
2. Send the configuration link to users
Send your users the unique configuration link for your directory so they can connect and authenticate themselves.
-
In the Console > Settings (on the left), you will see the unique Configuration Link for your directory.
-
Click Copy Link.
-
Paste this link into the message in the next step (4).
-
Send the following information to all your users:
[The Management] invites you to communicate via the Olvid app, available on phones, tablets, and computers. To do this, please:
-
Download Olvid from the App Store or Google Play if you haven’t already. You can also install the desktop versions for Windows, Mac, or Linux.
-
Scan the QR code below or click this link:
[Replace the link and QR code here with your own].

-
Authenticate using your credentials, which will be sent to you separately. Then, follow the in-app instructions or refer to the help page.
-
3. Send credentials to users
Send users their individual credentials (username and password) to authenticate in the directory.
You can send them individually or in bulk via the console.
-
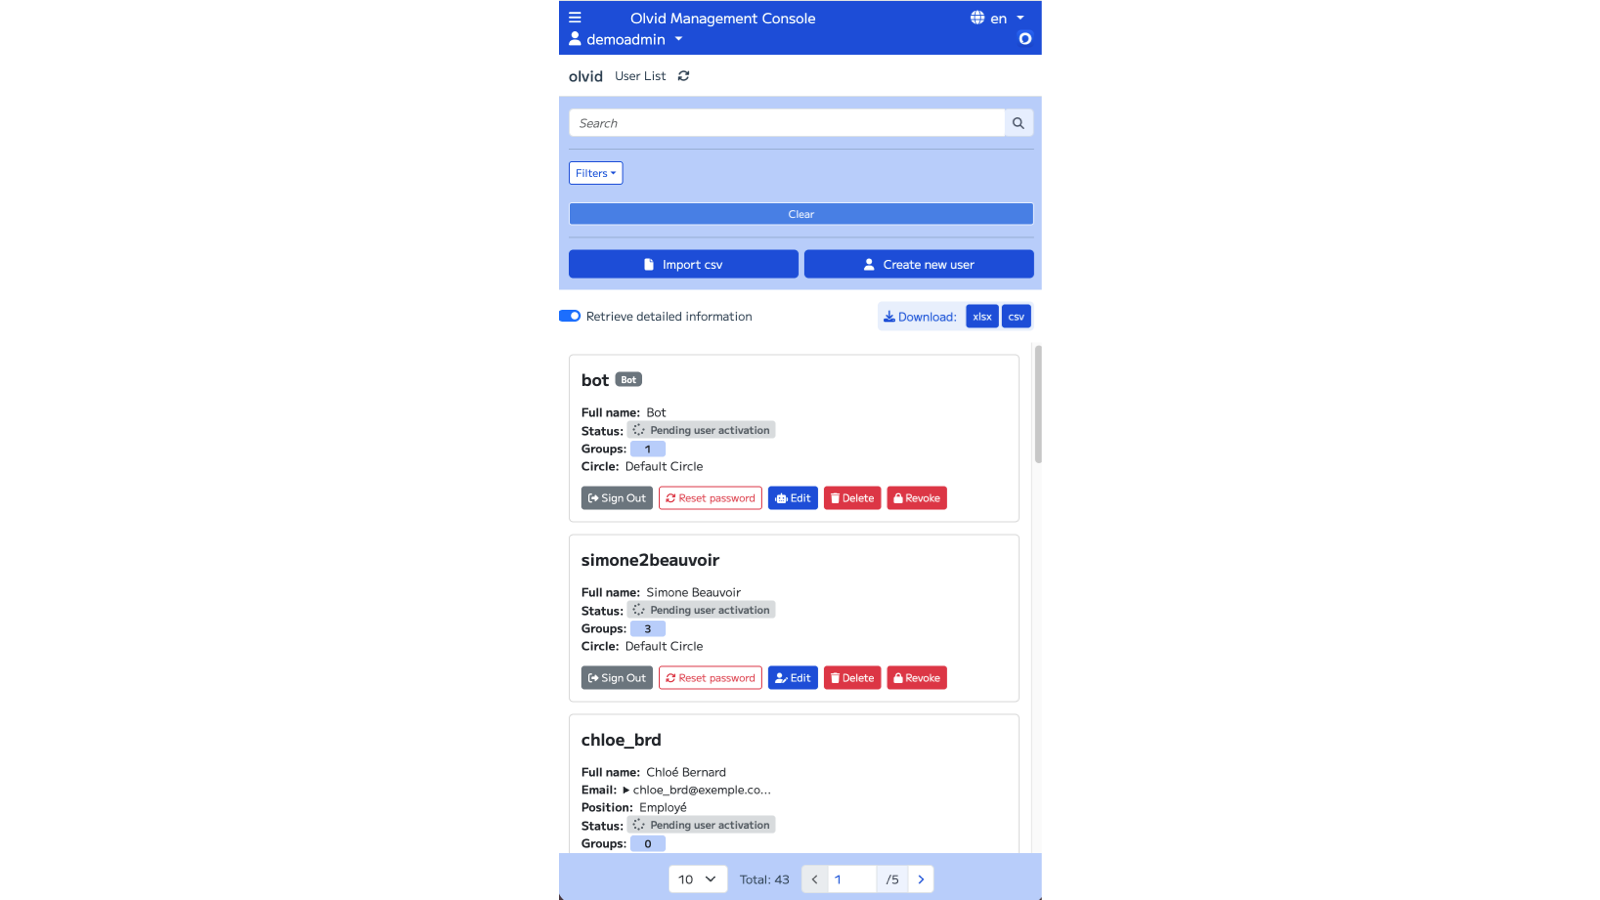
In the Olvid Management Console > Users, select one or more users.
-
Click Reset x passwords.
A dialog box will open.
-
Choose Random password (Highly recommended), Choose a password, or No password and click Yes.
The Password Reset screen will appear.
-
Confirm the automatic email delivery (containing the credentials) to the user if your Console has been configured for it, by clicking Send an email (x).
x Emails sent successfully will be displayed.
-
Click Close.
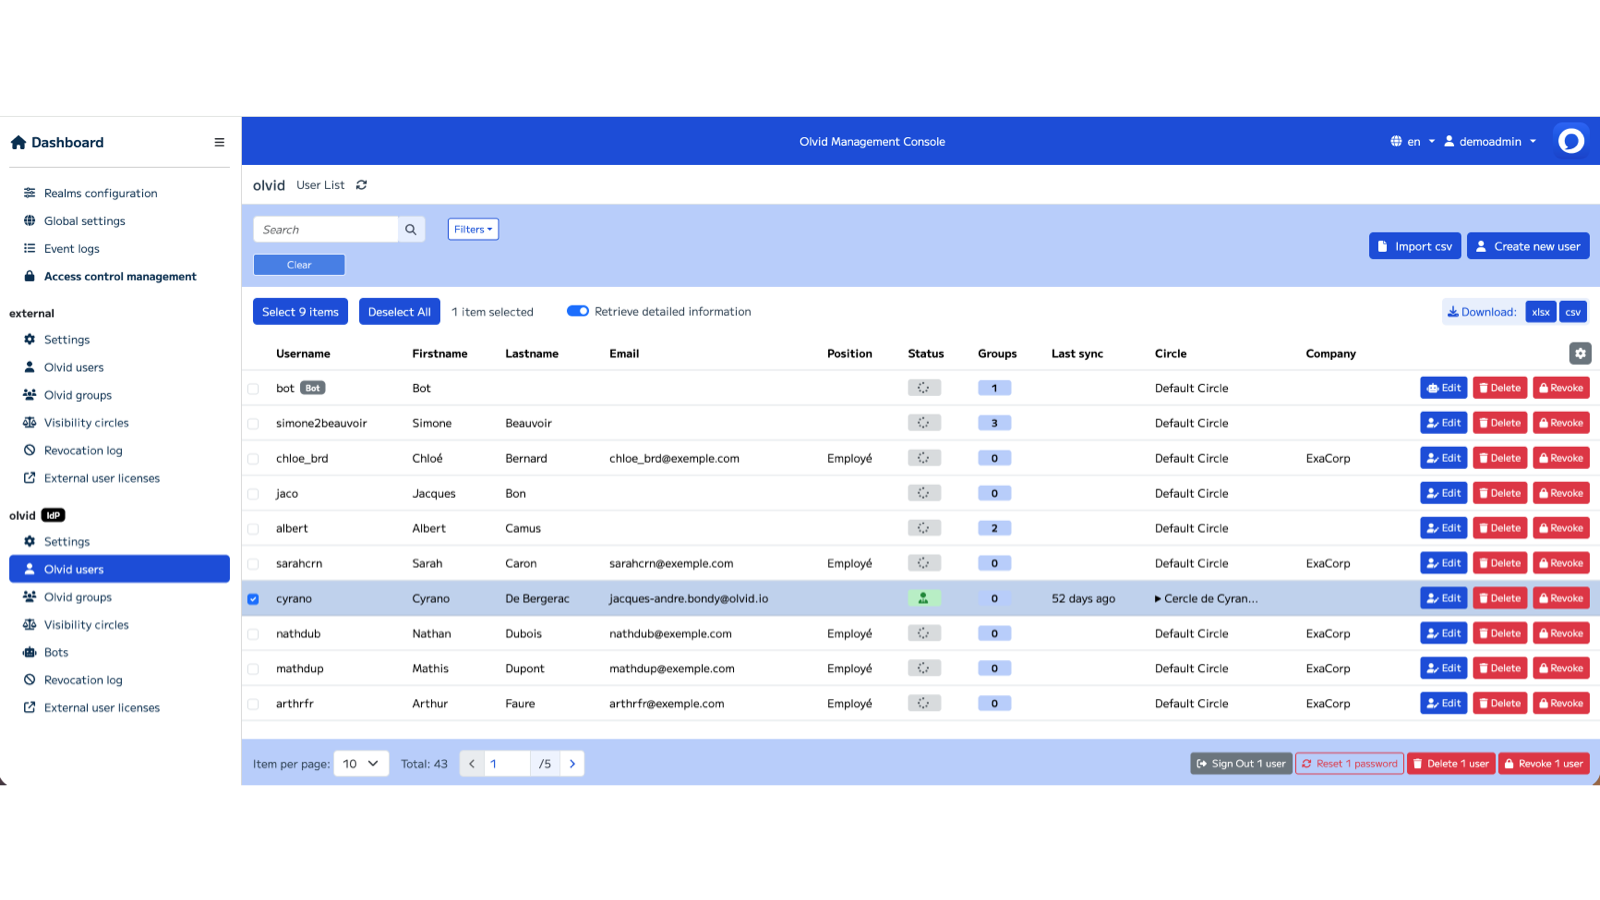
4. Monitor who has authenticated
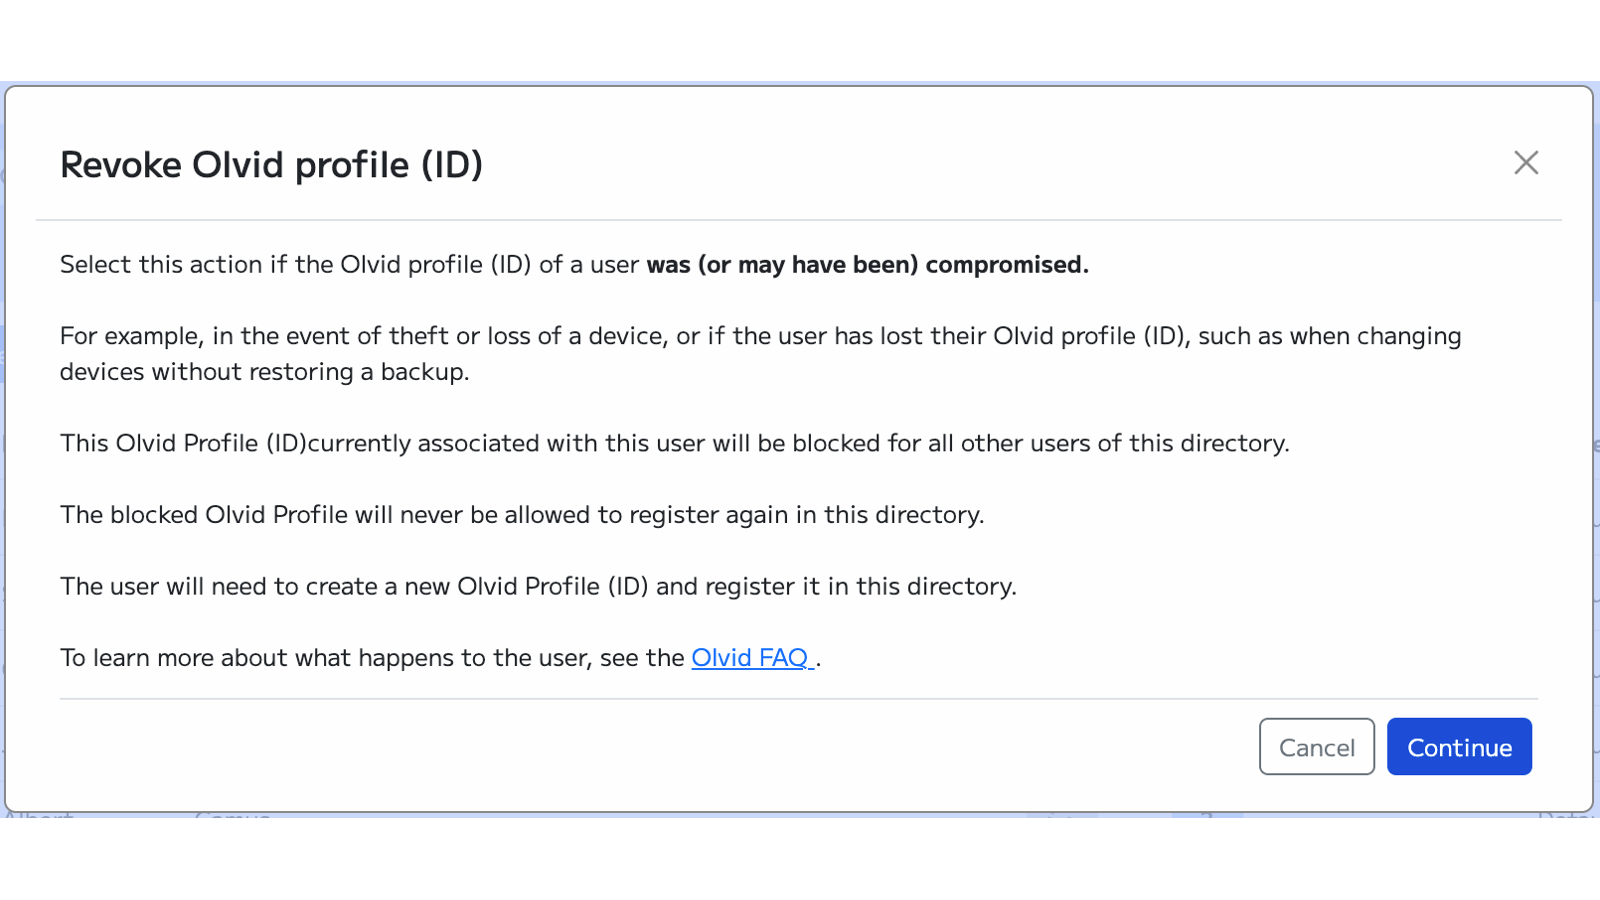
You can list users in the directory and filter according to various criteria to see, for example, who has activated their account and authenticated. Once authenticated, users can see and join group discussions managed by the directory and will see a shield on their Olvid profile picture.
-
In the Console > Olvid Users or Olvid Groups (on the left), enable Retrieve detailed information.
-
You can also enable Configure columns (at the end of the side scroll to the right).
What’s next?
You can start managing and modifying your users licenses and creating discussion groups.