Table of Contents
- Base Installation
- Prerequisites
- Installation of Keycloak
- Configuration of Keycloak
- The Master realm
- The Olvid users realm
- The Olvid admin realm
- Configuration of the Olvid Plugin
- Upgrading
- Additional Configuration
- Configuration of an External IdP
- Using LDAP User Federation
- x509 Client Certificates Authentication
- Configure Olvid via an MDM
- Using the management console
- Use the Olvid Management Console
- Misc.
- Changelog
Configuration of Keycloak
The concept of realms
Keycloak uses a notion of realms to separate users, each realm having its own set of users, its own authentication mechanisms, and its own purpose. For a standard Olvid installation, we will use three realms:
- the master realm is the default realm created by Keycloak and is used for administration. The first admin user we created at installation is part of this realm and users in this realm have full administration right on Keycloak and the Olvid Management Console.
- the olvid realm we will create will be used for users of the Olvid application. This is where we will configure how collaborators using Olvid authenticate with Keycloak.
- the olvid_admin realm is dedicated to administrators of the Olvid Management Console, that is, persons that should not have access to the configuration of Keycloak itself, but should be able to manage Olvid users through the Olvid Management Console. This last realm is optional, especially if Keycloak administrators will be the ones managing the Olvid users.
Each of these three realms is configured independently, with a dedicated page (see left menu).
Check everything is functional
Before we start configuring our realms, we need to check that our Keycloak install is fully functional and that we can connect and authenticate on the server.
-
Connect to the address Keycloak is bound to.
-
If the reverse proxy is properly set up, this can be the public DNS of your Keycloak.
-
If the reverse proxy is not set up yet, or if access to the Keycloak Administration pages is blocked from outside your network, you may connect directly to the internal IP/DNS of your Keycloak server on port 8080 (this could be
http://localhost:8480/).
You should be redirected to an authentication page with a url starting with
/auth/realms/master/. Themasterhere is the name of the realm you are trying to authenticate with: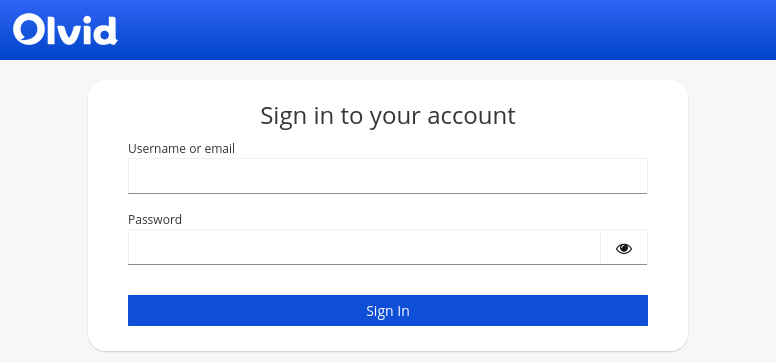
-
-
Enter the credentials you chose for the administrator in the Installation of Keycloak section and click Sign in.
-
After you signed in, you should reach a page that looks like this, with a Management Console entry in the left menu:
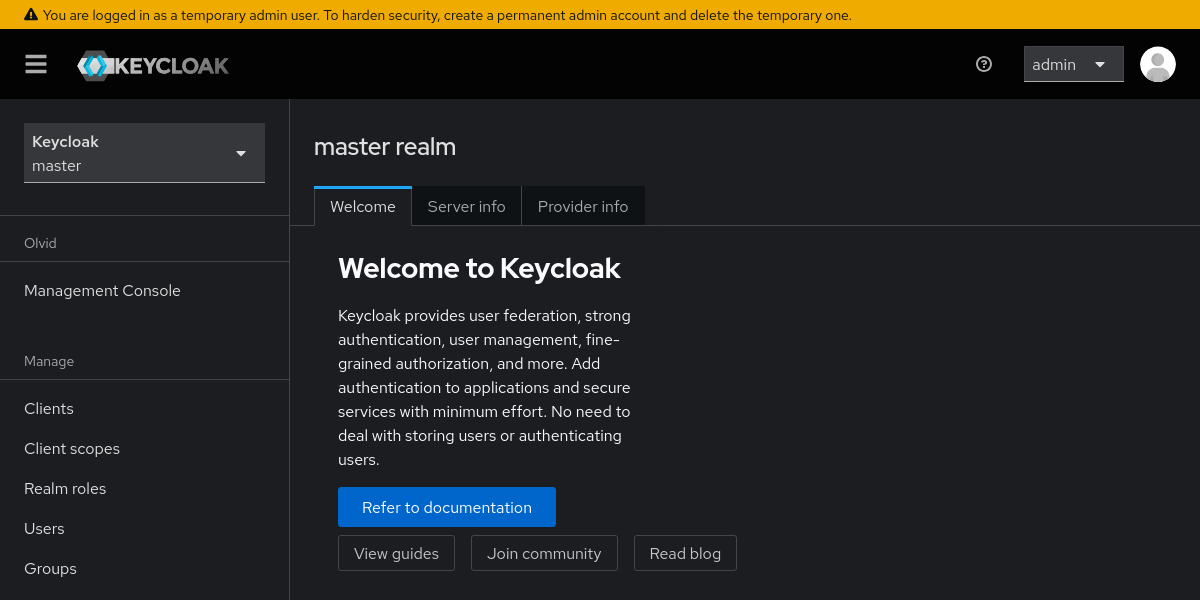
Proceed with the Configuration of the Master Realm.